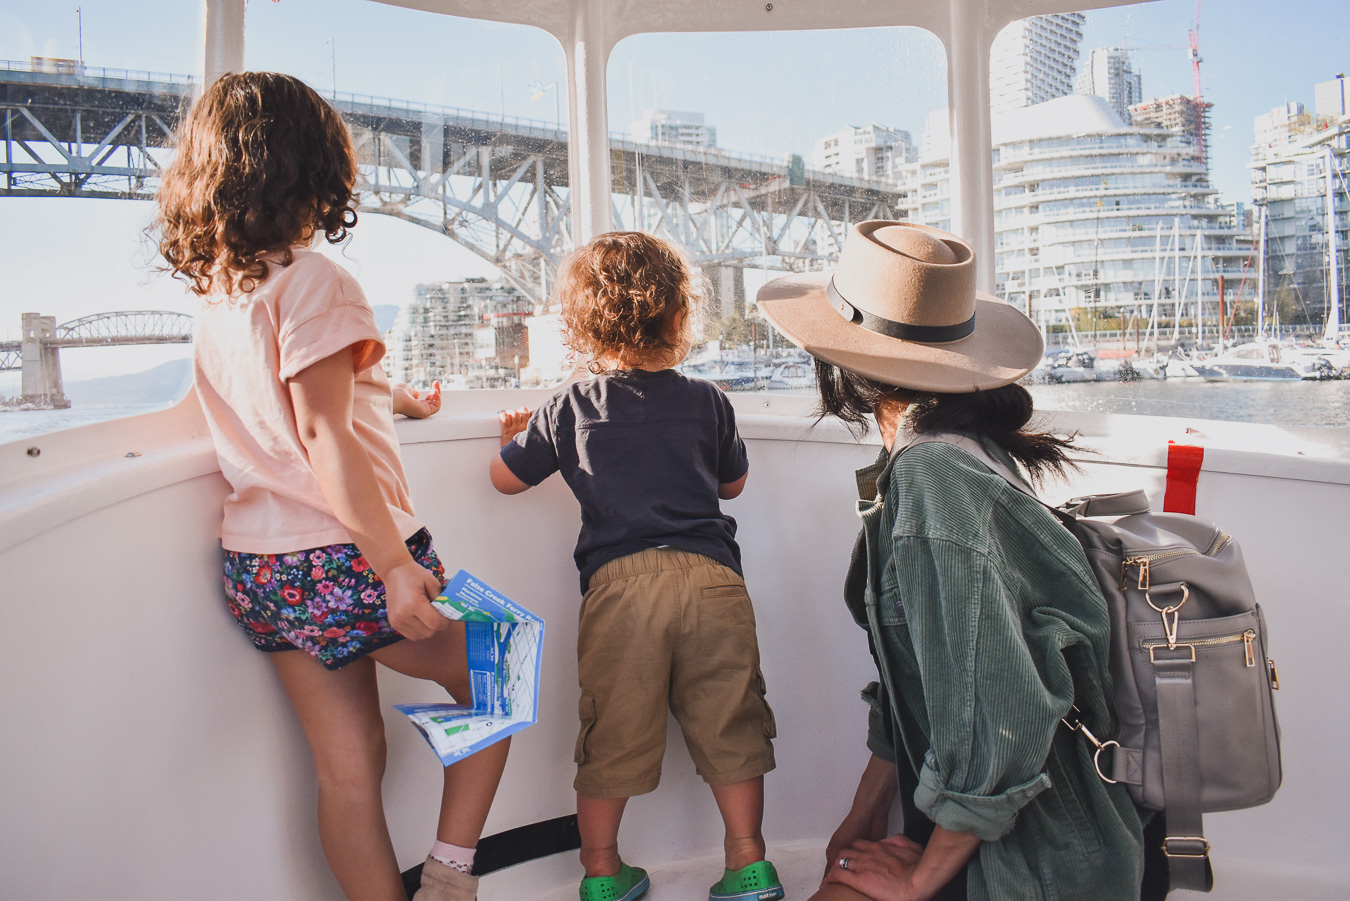
Our family loves a good adventure. We’re not ones to shy away from the work of planning and packing to go on a getaway with the kids. This Summer we managed 4 camping trips and in the 4 years we have gone camping with our little ones, this year was the most work! haha! But to us, it was worth it. Watching the kids explore the woods, get dirty, play, use their imaginations are all valuable skills. Not to mention learning to ride a bike without training wheels, swim in a lake and in a river and absolutely love it.
Read: Kid, Baby, Toddler Friendly Places To Camp in BC
When my daughter was born, I started looking for travel trailers. Just getting ideas of prices, styles, layouts and (the most exciting part) how I wanted to decorate it to make it a home. Originally I thought we would love a Boler or a Trillium, something light and cute that we could tow without having to get a new SUV. This year, I put that dream to bed and began our search more seriously for something that ticked these boxes:
The Wish List
- had to have a bathroom (with little kids, a toilet was key and a shower to wash dirty feet!)
- had to weigh under 4500 lbs GVW
- had to sleep a minimum of 5 people (now that we’re expecting a 3rd child!)
- had to have bunk beds
- had to be 20 ft or less
- had to have NO LEAKS or MOLD
- had to be in good, working condition and maintained
As you can see, the list was pretty specific and long. This was because a) I was 5 months pregnant at the time of our search so we didn’t have time to take on a project, b) We’re not electricians, plumbers or skilled in any trade…. we’re not exactly handy people. So a big reno project was WAY OUT of the question and c) BUDGET.
The Budget
Our budget was $7000 for a travel trailer, and $2000 for supplies and decor.
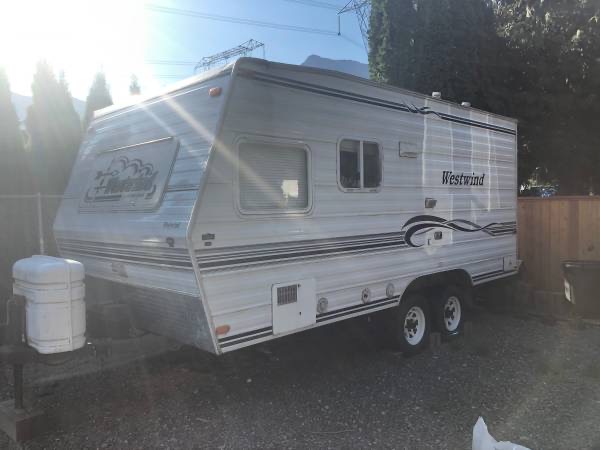
After searching every night on Facebook Marketplace & Craigslist till midnight for almost all of August we managed to see 2 trailers in person and made 2 offers. Both didn’t pan out until… September Long Weekend on a Thursday night at 11pm we came across a gem on Craigslist, a 18ft 2002 Westwind Travel Trailer for $8900. It was the exact layout I was looking for and looking at the pictures I was already sold. The pictures weren’t the best, but the trailer’s interior looked clean and original. The description ticked all of the boxes on my list, so all it would need is a cosmetic update. Since we had left for the long weekend, my parents went out to go see the travel trailer and text me on Saturday saying it was well maintained and in good condition.
We offered $6000, which was originally denied. After negotiating and providing money upfront, we bought the trailer for $7500. By Sunday, my parents were towing it back to their place.
We returned from our trip and on Monday night, we got to see the trailer in person! I immediately started putting together our to-do list.
The To Do List
- Clean/Disinfect EVERYTHING, inside and out.
- Update Upholstery and curtains
- Take out valances and blinds above windows
- 4 Roller Shades for main windows, 2 curtains for bunk bed windows
- Clean, Prep and Tape Walls for Paint
- Wallpaper vanity and bathroom
- Wallpaper “headboard” wall in bunk house
- Add & organize kitchen supplies
- Add & organize blankets, towels and clothing racks
- Bedding: pillows, sheets and comforters
To see the process of updating it, watch my “Our RV” highlights on Instagram.
The Before and After Photos
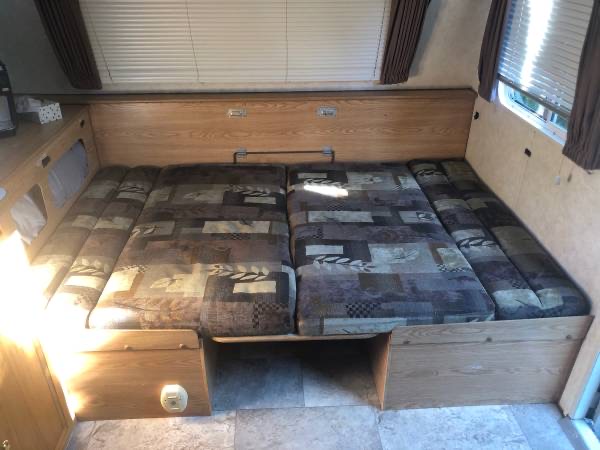
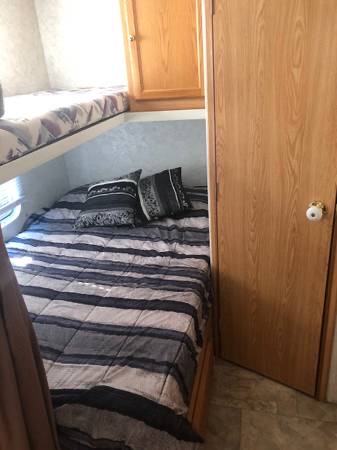
BEFORE 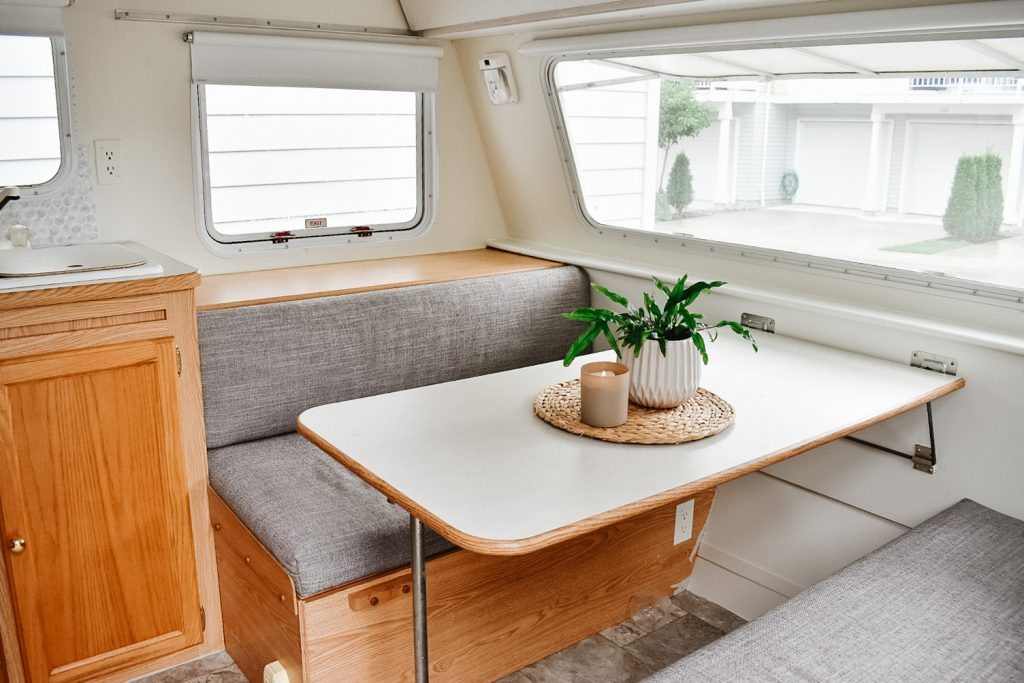
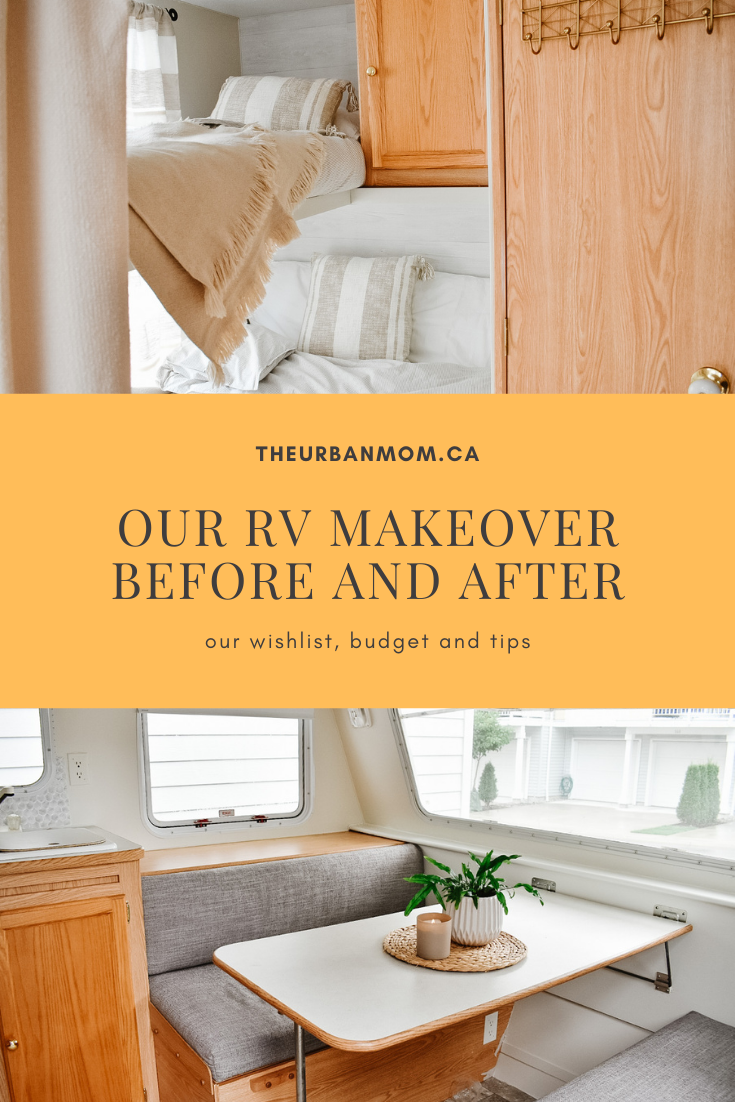
AFTER

The Dinette Area which turns into a Double Bed. We removed the blinds, curtains and valances and replaced them with simple, black out roller blinds. I removed the old upholstery and replaced it with simple grey upholstery. and we painted the walls and a part of the wood siding in a warm white.
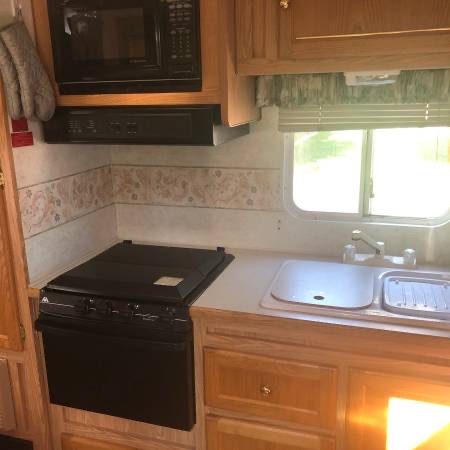
BEFORE 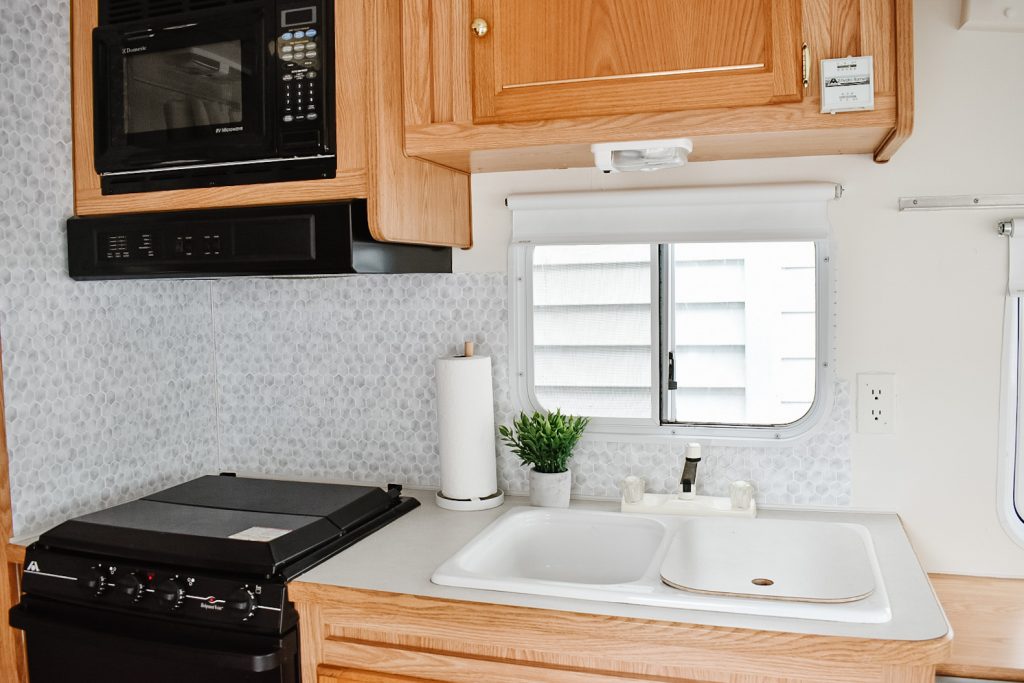
AFTER
In the kitchen, we removed the old floral, wallpaper border and replaced it with peel & stick, hexagon tile. We also painted the walls white and replaced the blinds and valance with a simple, black out roller blind.
BEFORE 
AFTER
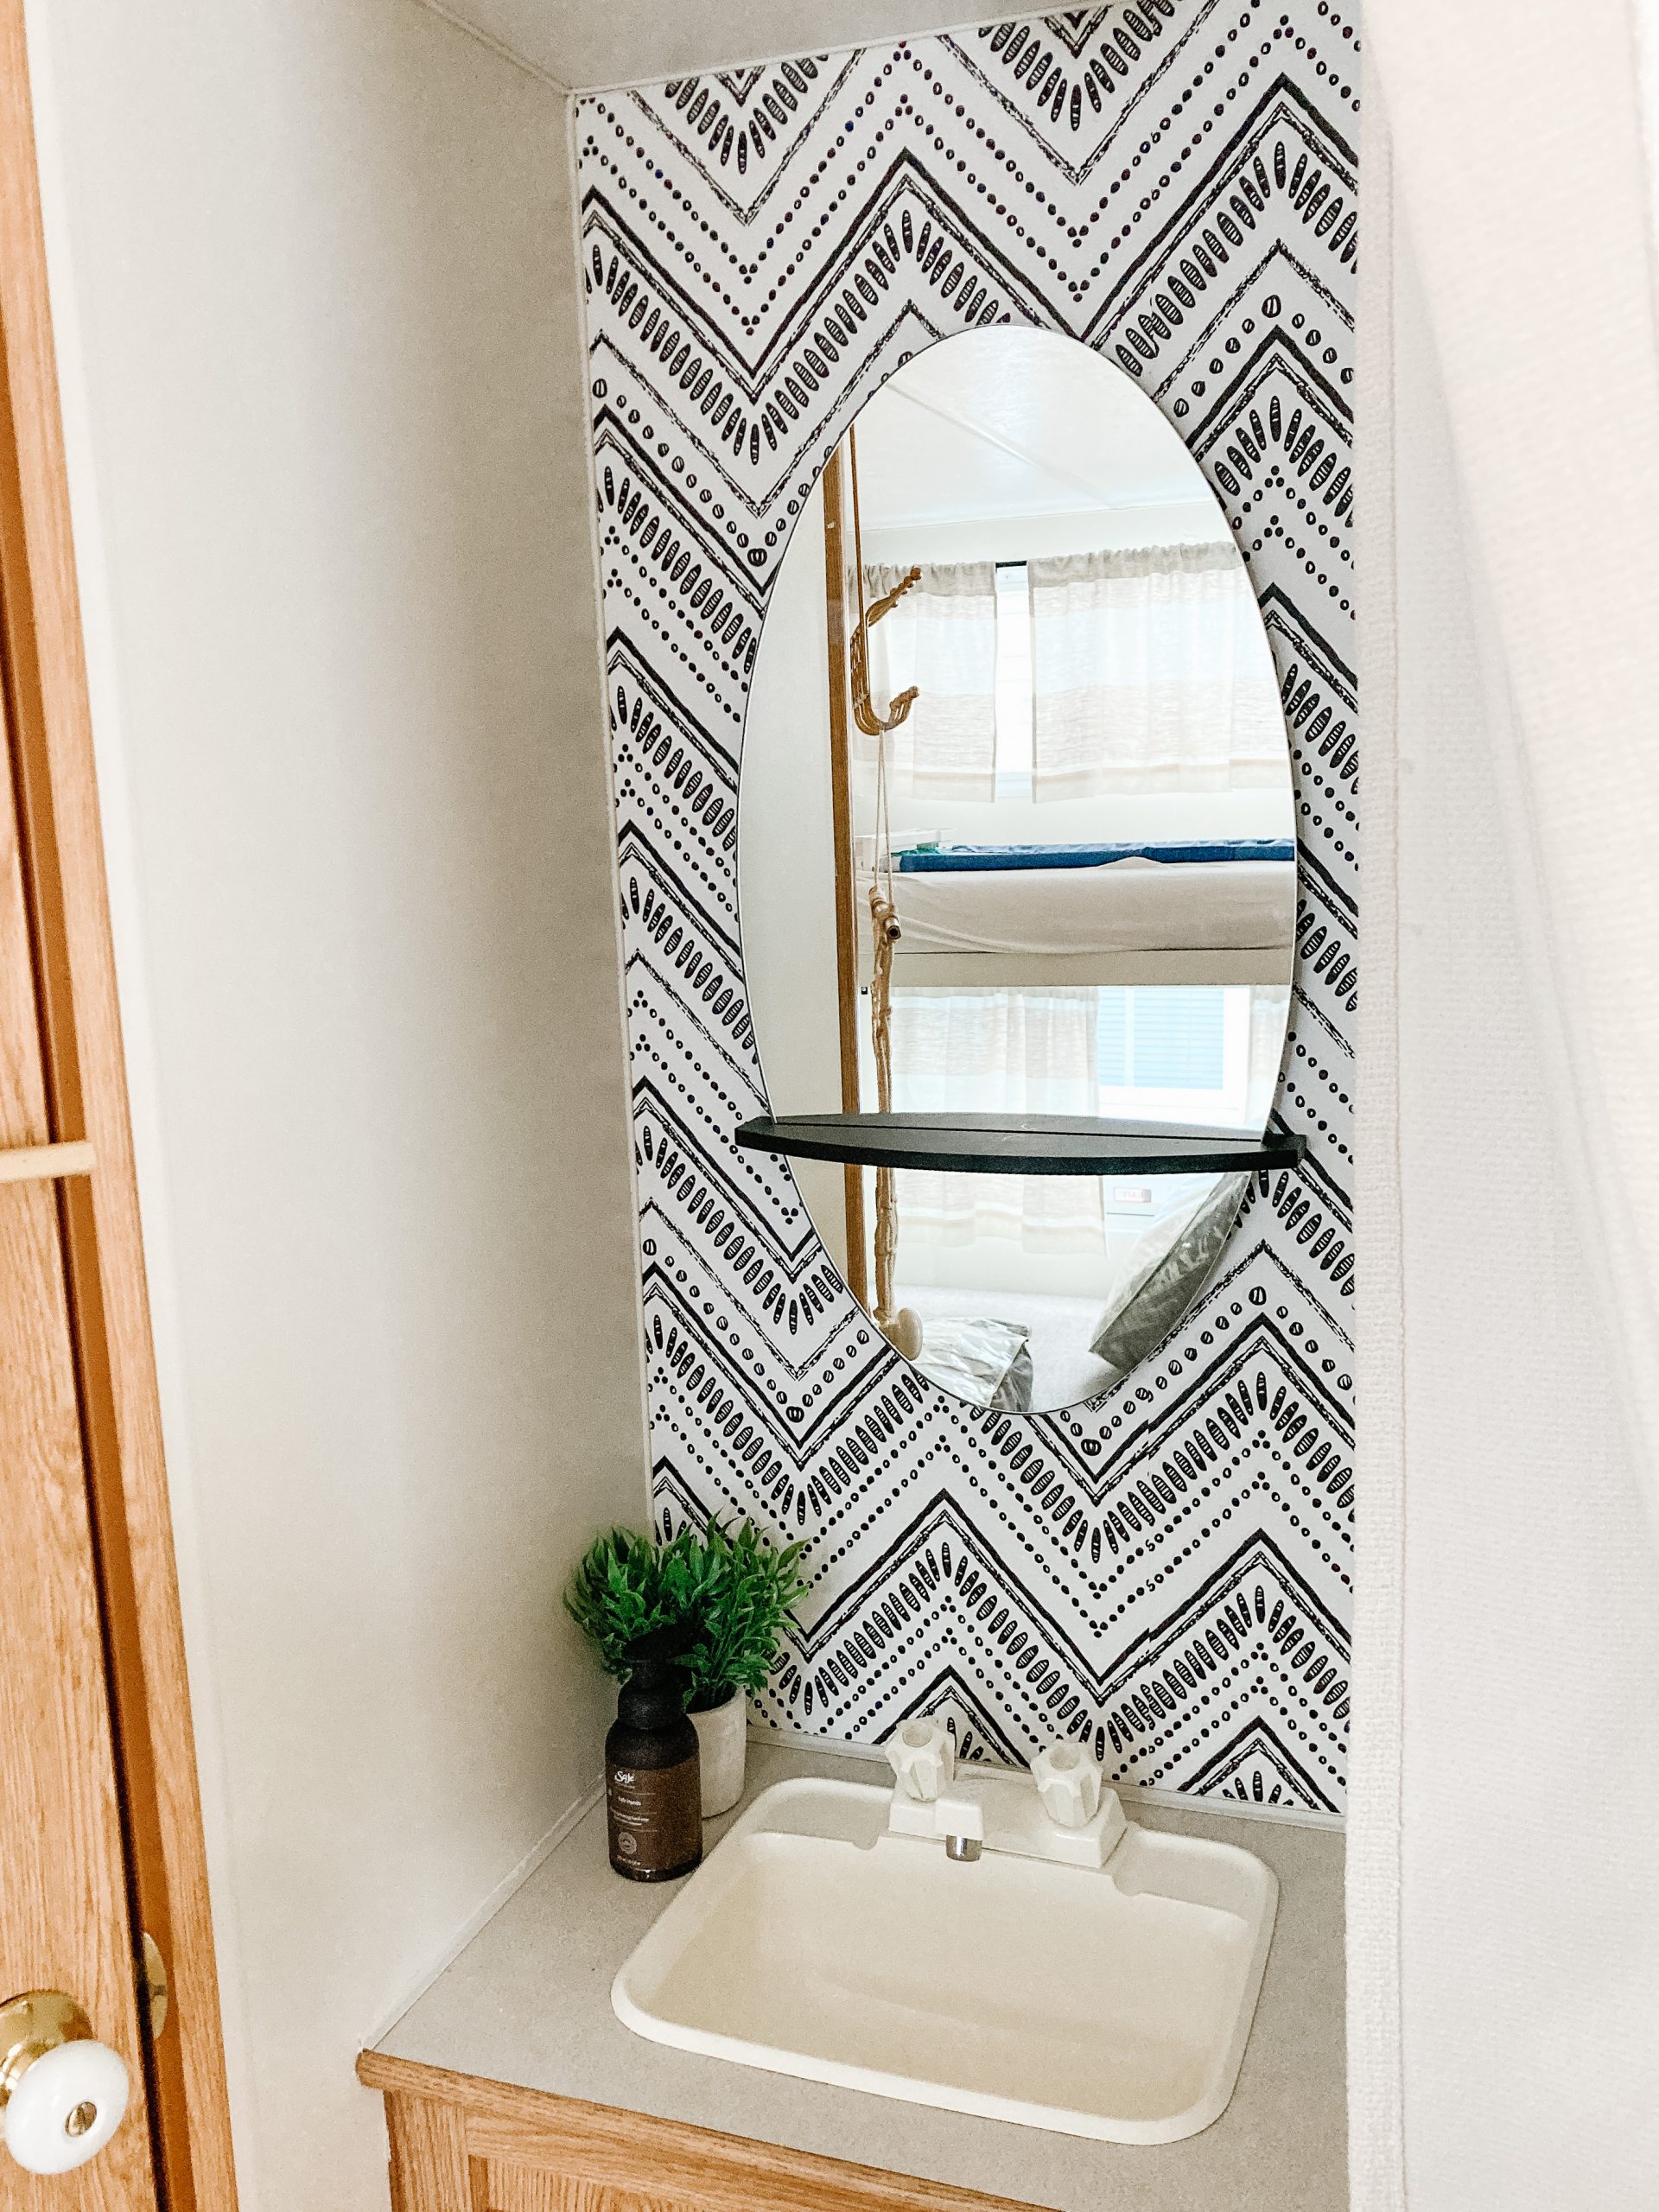
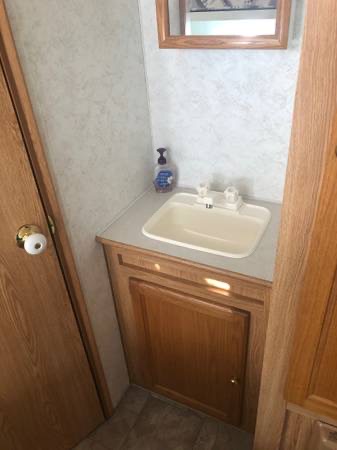
The Vanity Area was cleaned up and the walls were painted white. We took out the medicine cabinet mirror and installed a graphic wall paper. It makes this tight little area seem taller. I found the perfect sized, lightweight mirror on Facebook Marketplace for $15.

BEFORE 
AFTER
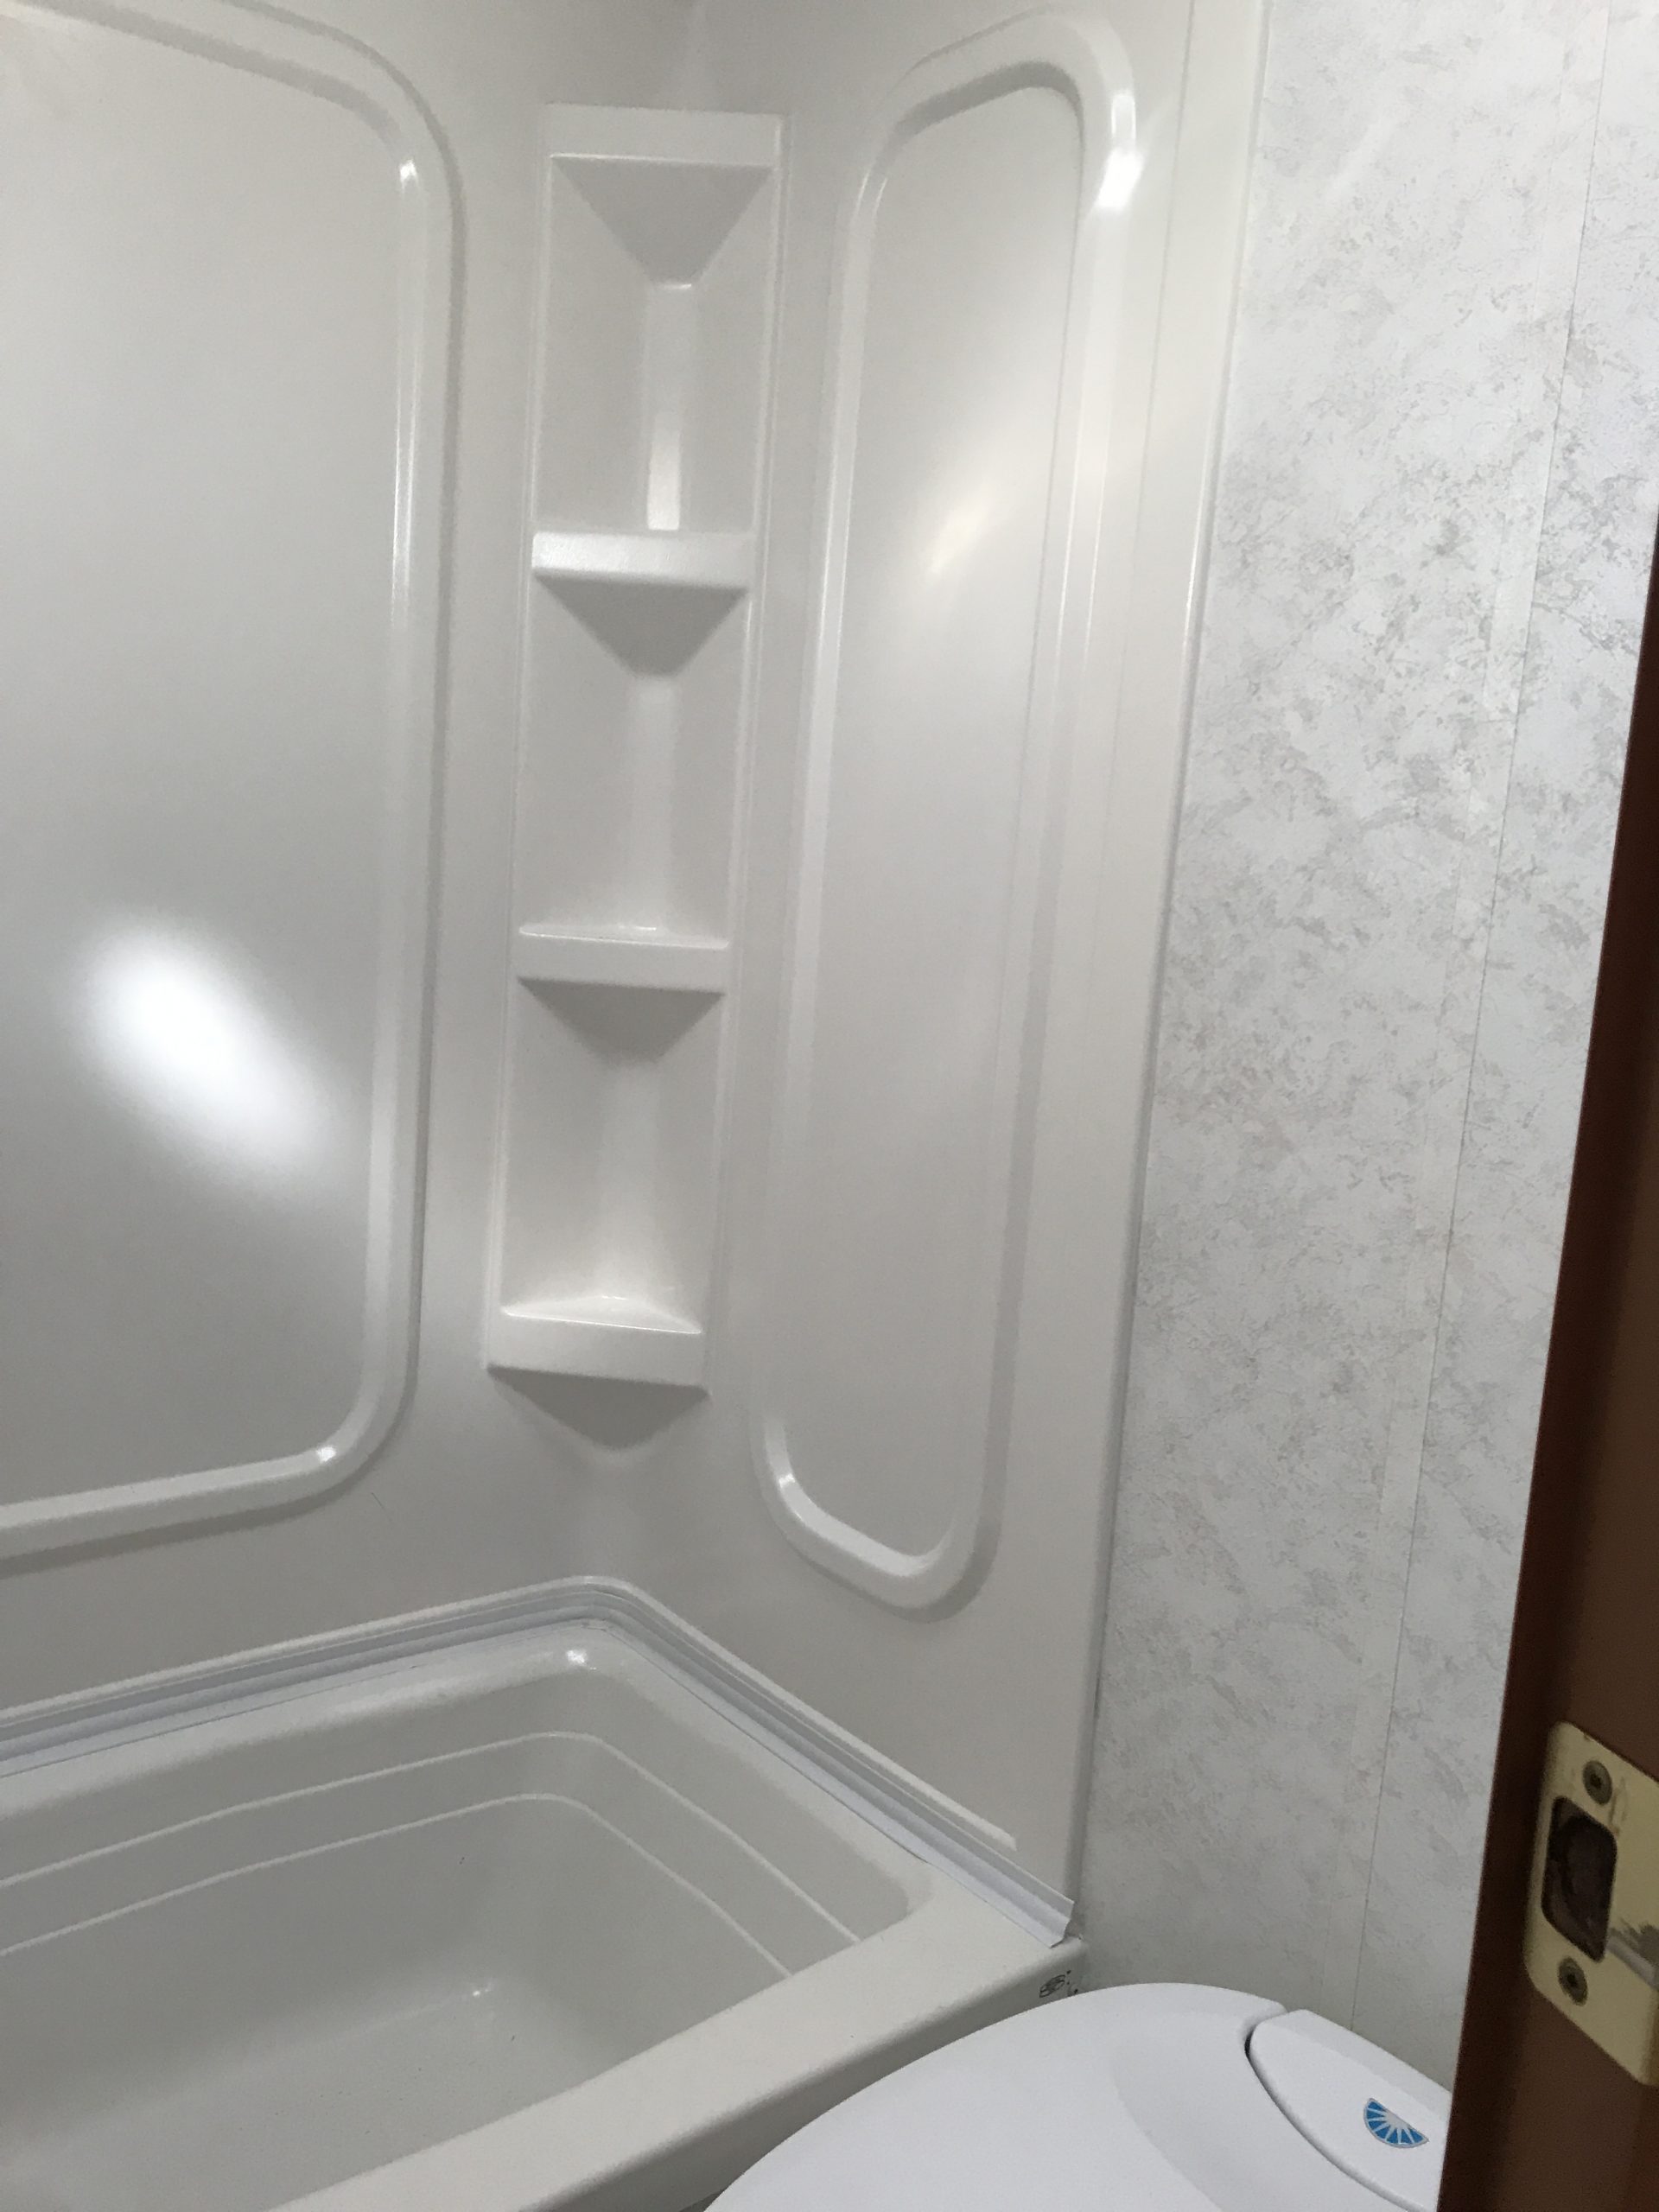
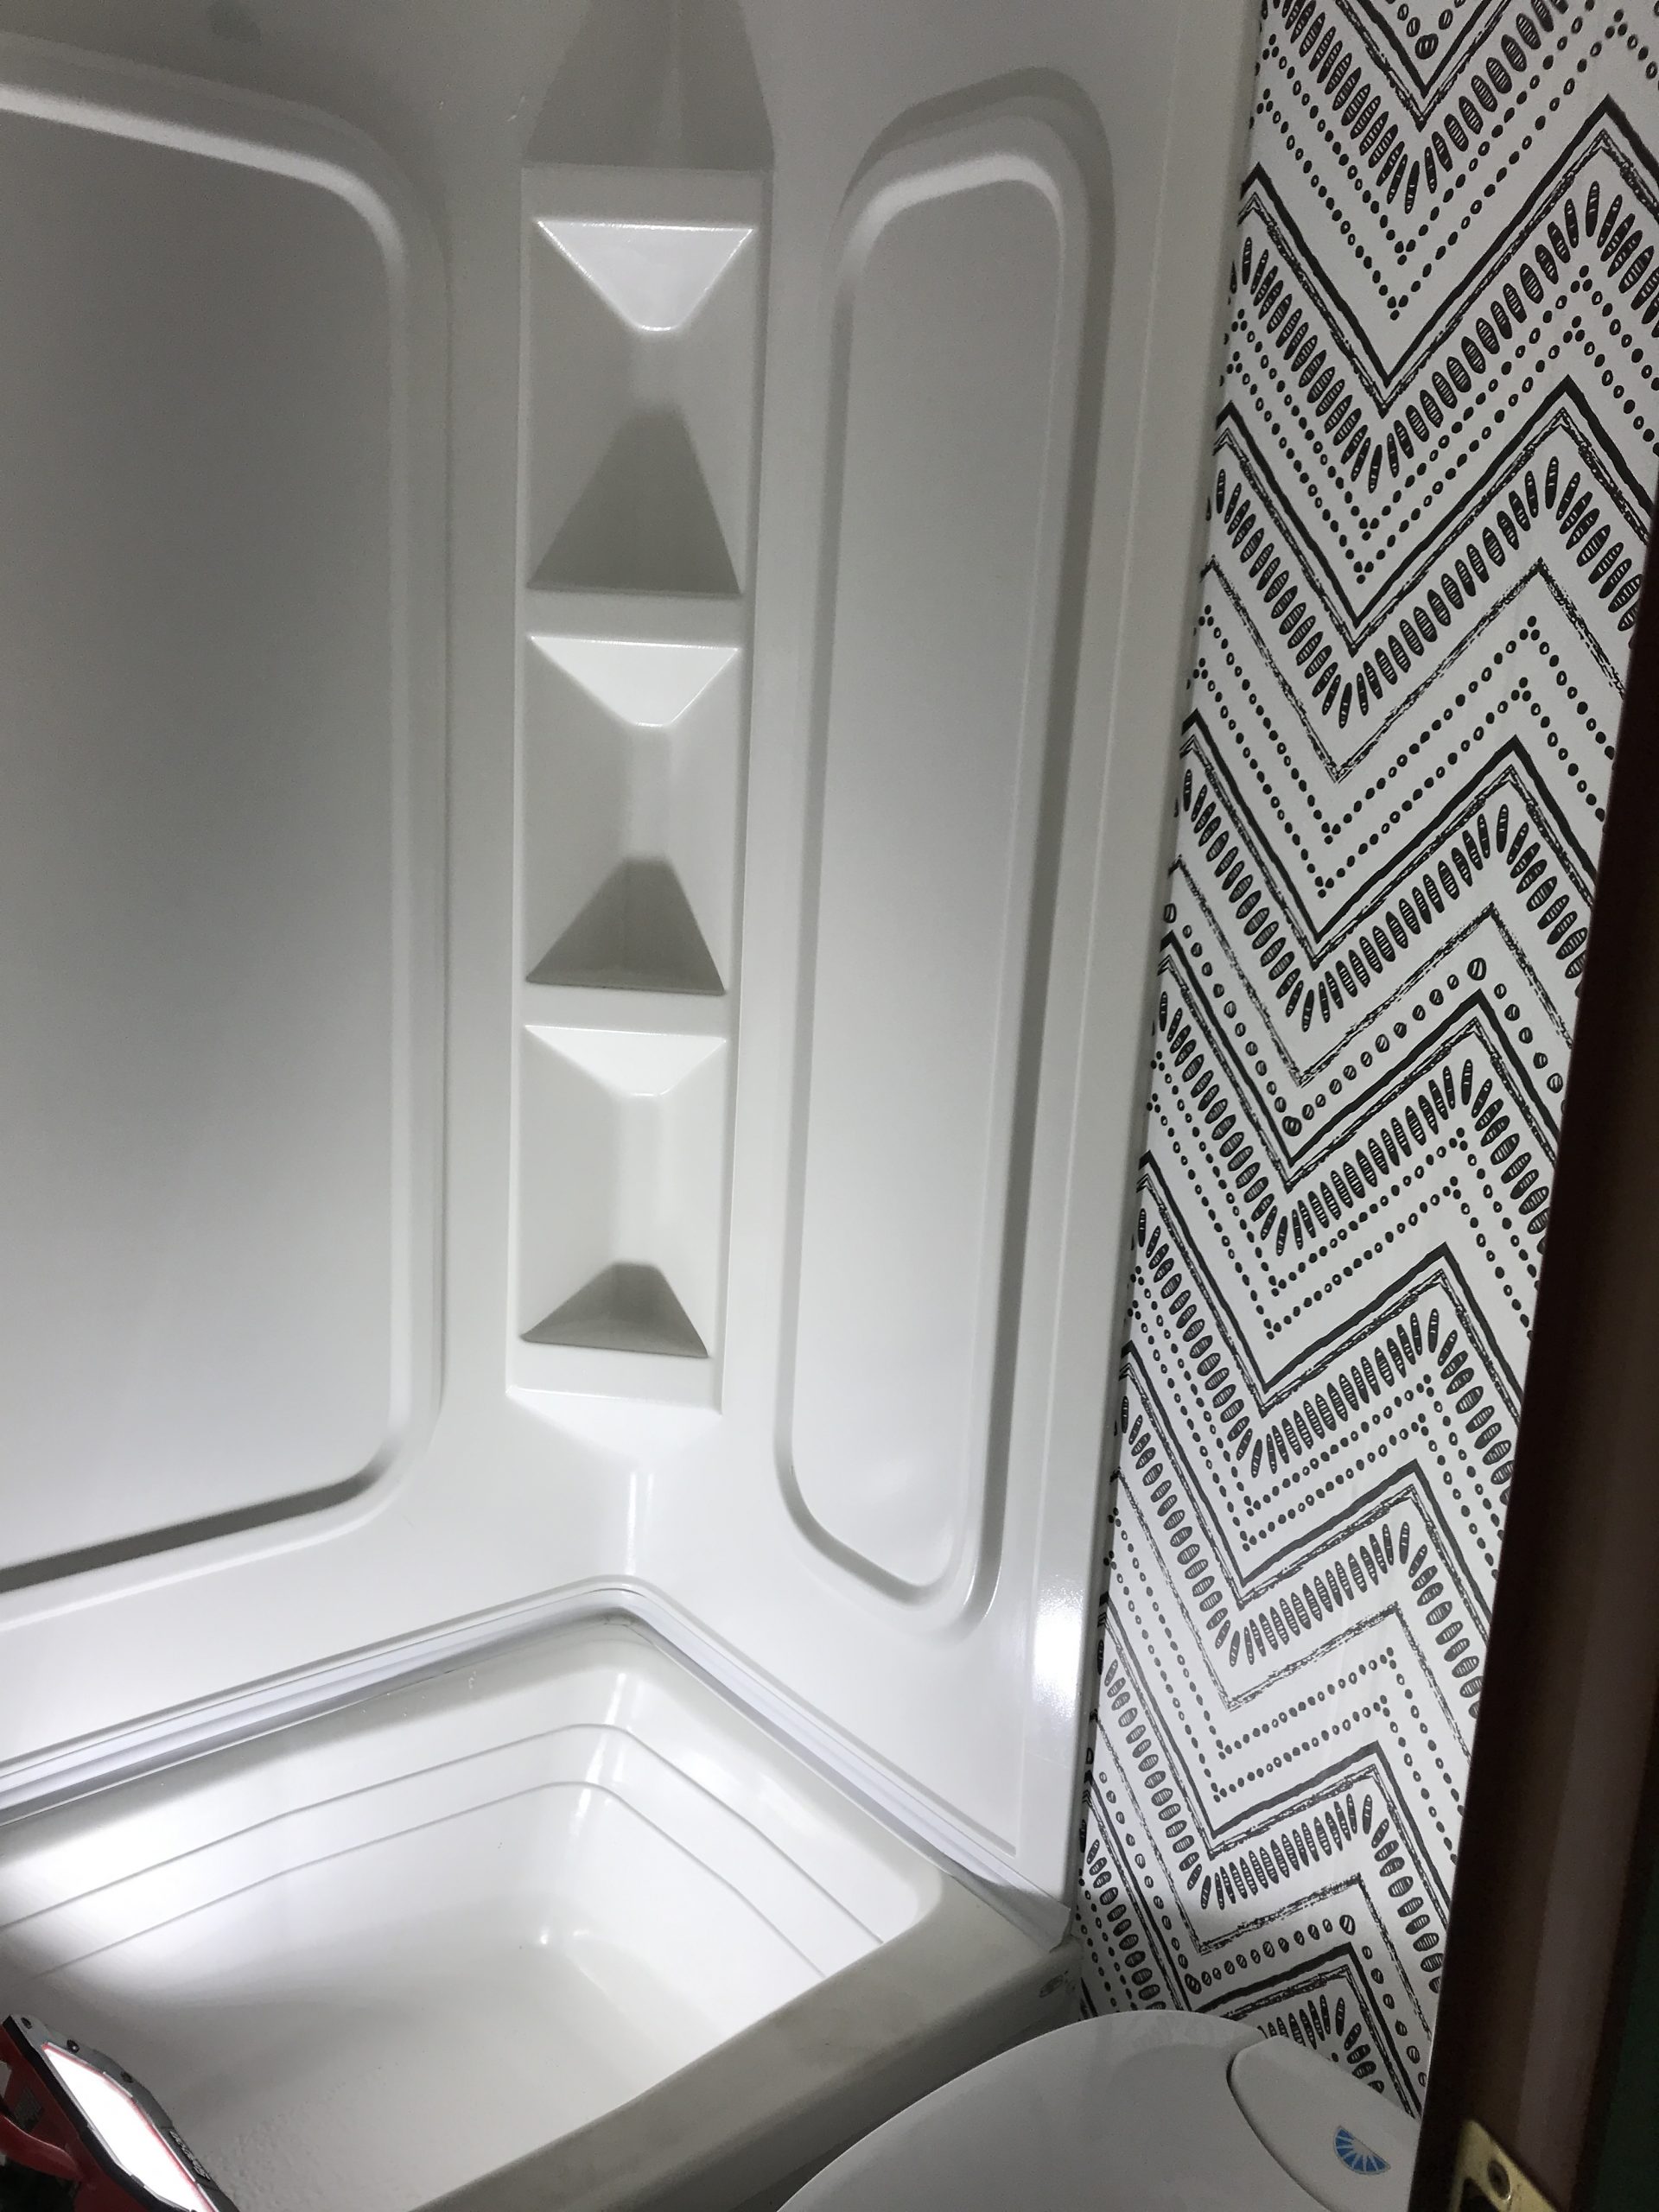
The tiny shower/toilet room got a little makeover with white paint on all the walls and the same graphic wallpaper behind the toilet for some visual interest. I’m getting a fun print done up in a peachy pink colour to hang in the bathroom that says “TAKE IT EASY” from Etsy.
BEFORE 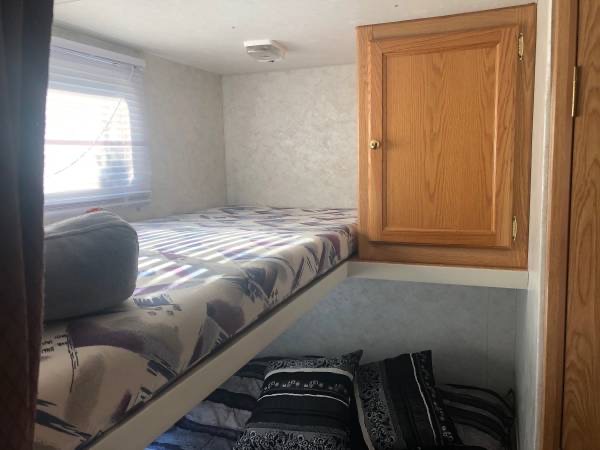
BEFORE 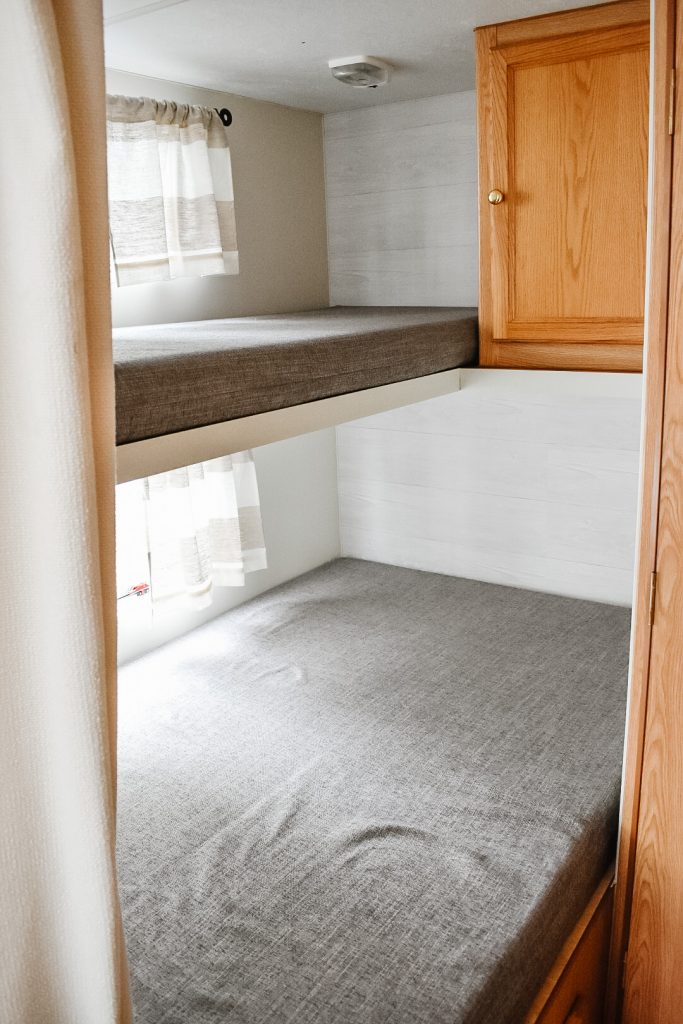
AFTER AFTER
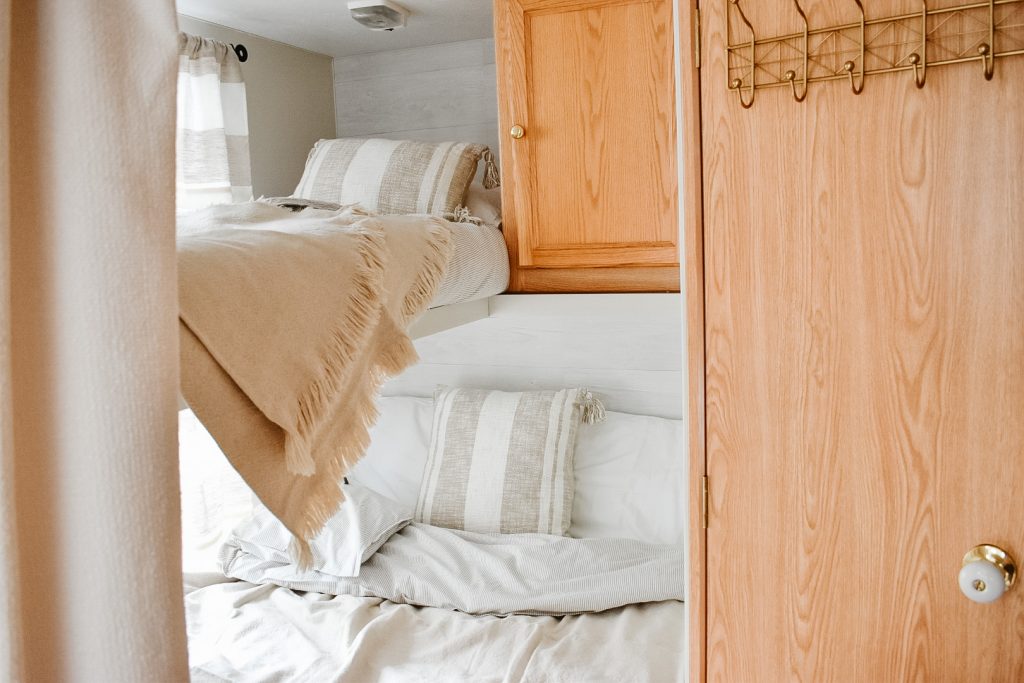
My favourite spot is the bunk bed area. I took out the blinds (super dangerous, with a toddler!) and replaced them with curtains. The foam mattresses were in great condition so I just got them reupholstered. The bedding I picked up at Ikea and Homesense. We painted the walls white and added white shiplap wallpaper for a “headboard” feature wall.
Total Cost For EVERYTHING
$7500 for Travel Trailer (including Hitch & Sway Bars)
$545 for Electric Brake System in our SUV
$680 for Transfer Tax & Insurance
$55 for Misc. Trailer Supplies (water hose, water filter)
$1000 for Upholstery & Curtains
$570 for Decor & Organization Bins from Ikea, Homesense and Dollarama
$425 for Paint, Wallpaper & supplies (TSP, Tape, Rollers)
$195 for Blackout Roller Shades from Lowes
Grand Total = $10,970
(Reno & Supplies = $2,190,
Trailer & Utilities = $$8,780)
The Details
Hitch & Electric Brake System Install: E&H Hitch
Upholstery & Curtains: Foam & Home Decor
Accent Pillows: Homesense
Duvet Covers: BLÅVINDA Ikea
Sheets: VÅRVIAL Ikea & NATTJASMIN Ikea
Throw Blankets on Bunks: JOFRID Ikea
Wall Primer: KILZ Original Primer from Home Depot
Wall Colour: Behr Premium Plus Low Odour & VOC in “Crisp Linen” MQ3-13U, Eggshell
Shiplap Wallpaper: NuWallpaper Reclaimed Shiplap Peel & Stick Wallpaper
Graphic Wallpaper: Modern Wood Geometric Circle Oval Peel & Stick Wallpaper
Custom Cut Roller Shades: LEVOLOR Trim+Go White Blackout Indoor Roller Shade from Lowes
Tips and Stuff We Learned
- Surprise! We forgot about the Transfer Tax.
- Buying on Craigslist or Facebook Marketplace is always risky. There are no rules. Use your gut, make sure you’re not getting scammed. And if you really like it, have your money ready to transfer when buying on Craigslist or Facebook Marketplace.
- Buy 25% MORE than you need in Wallpaper and Peel & Stick Tiles.
- I painted the walls in a warm white, not pure white because the ceiling was white but dated. I didn’t want it to be obvious that the ceiling wasn’t pure white when if you compared it to the walls. I also didn’t want the extra work of painting the ceilings.
Disclaimer: If you buy something though the The Urban Mom’s recommended product links, we may earn an affiliate commission, at no cost to you. Amanda and her team have linked these products because we only recommend products that we genuinely love, tested and trust.

Amanda is a writer, photographer, videographer and a content creator with a passion for sharing stories. With her family of 5, they share experiences, tips and ideas that empower Moms to make memories with their families right here in British Columbia.